There are two ways to begin a new press release. If you are in the dashboard, hover over “press release” and select “add new”. If you are on one of the web pages and you are logged in, hover over the “new” link on the menu and select “press release”.
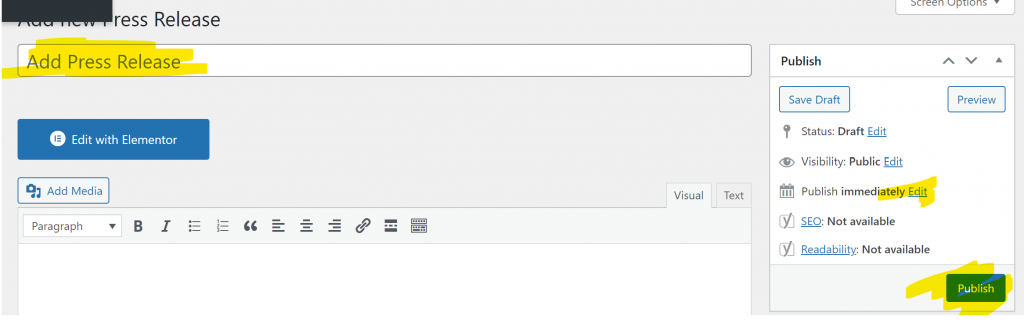
Next, add the title in the title box, and select the blue “publish button”. If the press release needs to be back or forward dated then select “edit” under the “publish” section on the right column and change the date, then hit the “publish button”. Then select the blue “edit with elementor” button
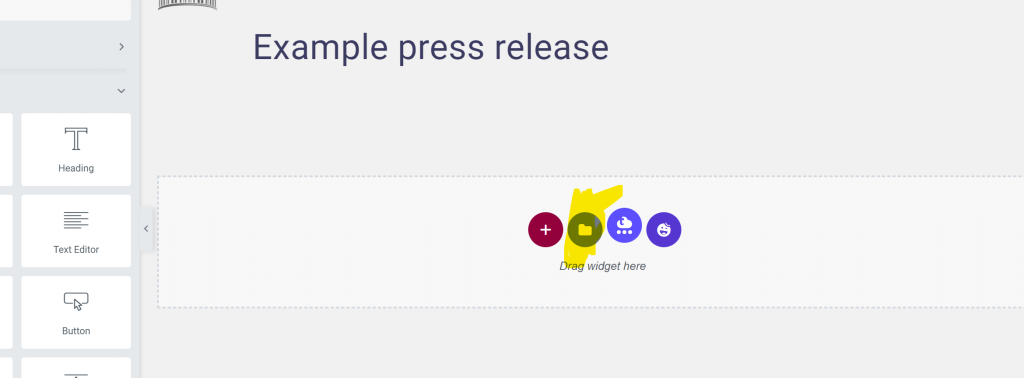
Next, select the highlighted button. This will bring up your template options.
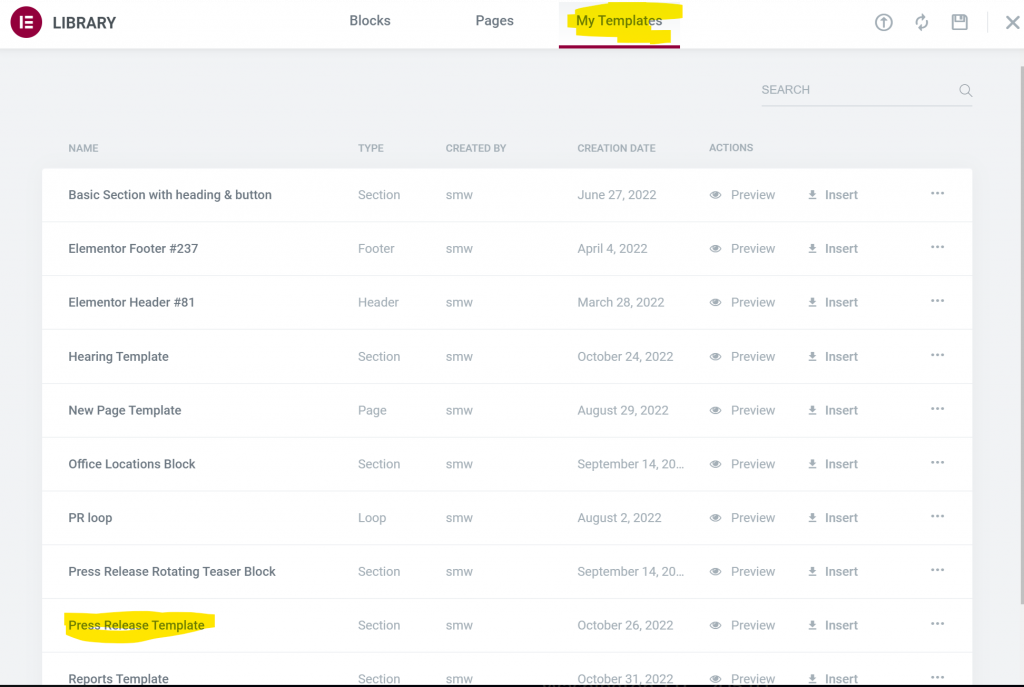
Select the link on the right “my templates” and scroll down & select “press release template”.
Now all you have to do is edit the press release. The date will either be today’s date or the date you selected when you created the press release. To modify the date you will need to do a “quick edit” on the press release after all the editing is complete. We’ll go over that later.
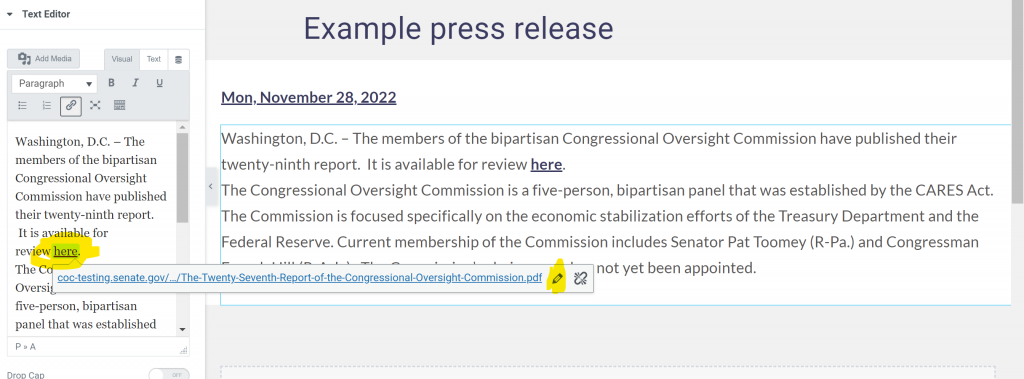
To edit the text, click the blue pencil in the upper right corner of the text box. Then click the black & white pencil to edit the link.
Paste the new link to the appropriate report in the space provided, click the blue return button, then select the green “update” button in the lower right panel.
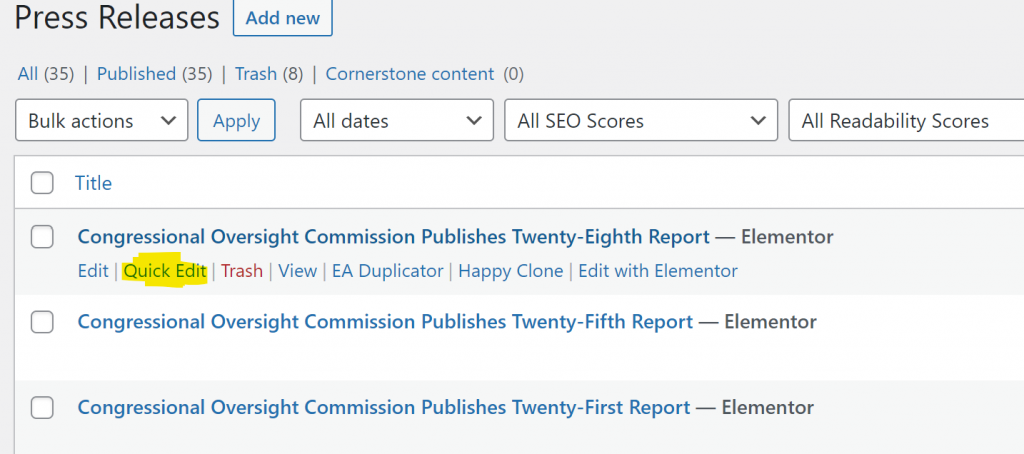
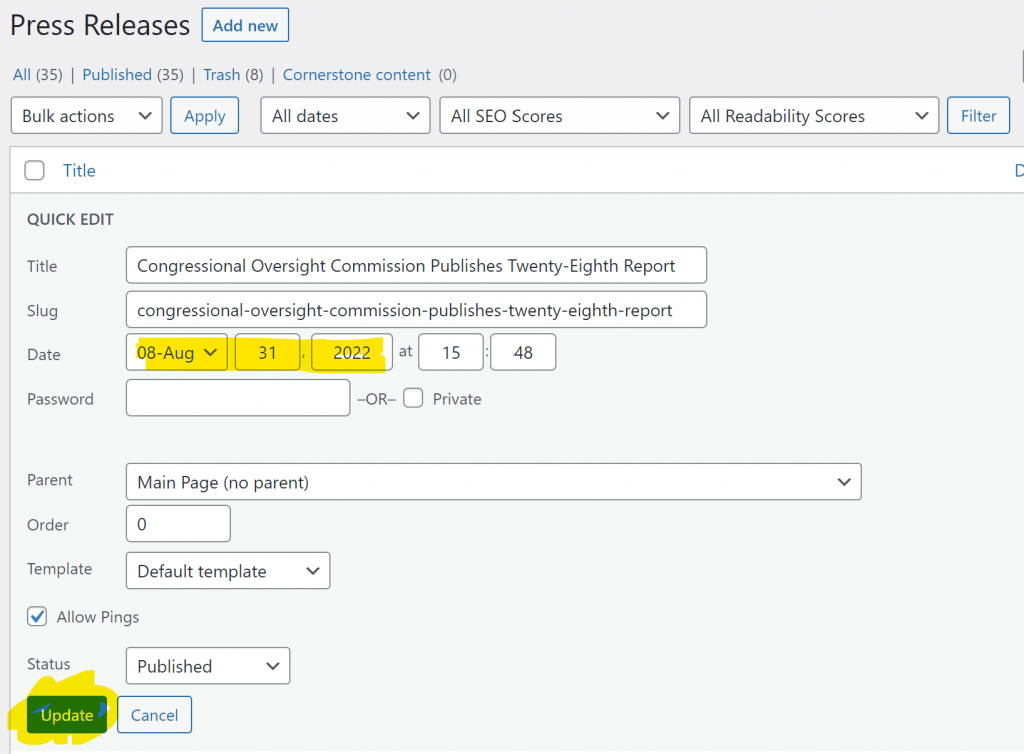
If the date is correct, the press release is complete. If you need to modify the date, go to the dashboard and select “press releases”. Scroll down to the press release in question & select “quick edit”. Change the date and select “update” The date section within the press release will automatically change.